It’s almost 2 full months into the new year – have you fulfilled your resolution to organize your craft stash yet? These quick tips have got you covered.
I like to be organized, but I’m not always good at it. I put everything away into neat little places, and then immediately forget where I stored the scissors and tear through all the drawers looking for it. I drive my other half into near insanity with my constant, “Where is my yarn needle? Where’d I leave my scissors? I thought I left my crochet hook right here!”
This year, I wanted things to be different. I wanted to find a solution that worked for me – and for me, putting things in cabinets and drawers doesn’t work. When I’m crafting, I like things to be accessible, not hidden beneath last month’s bank statement and 14 receipts from the sushi place across the street from work.
I also didn’t want to spend an arm and a leg on fancy new storage – not to mention, I don’t have the space for that kind of thing. With limited resources, I got to work, and I found the best options for organizing your craft stash on a budget.
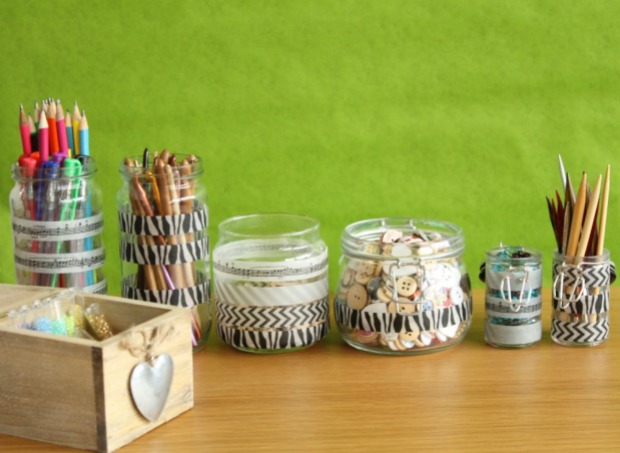
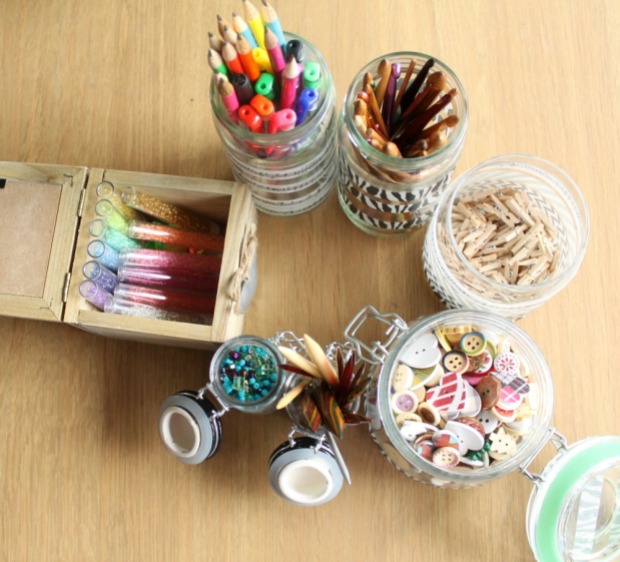
Glass jars

Fabric boxes

Washi tape
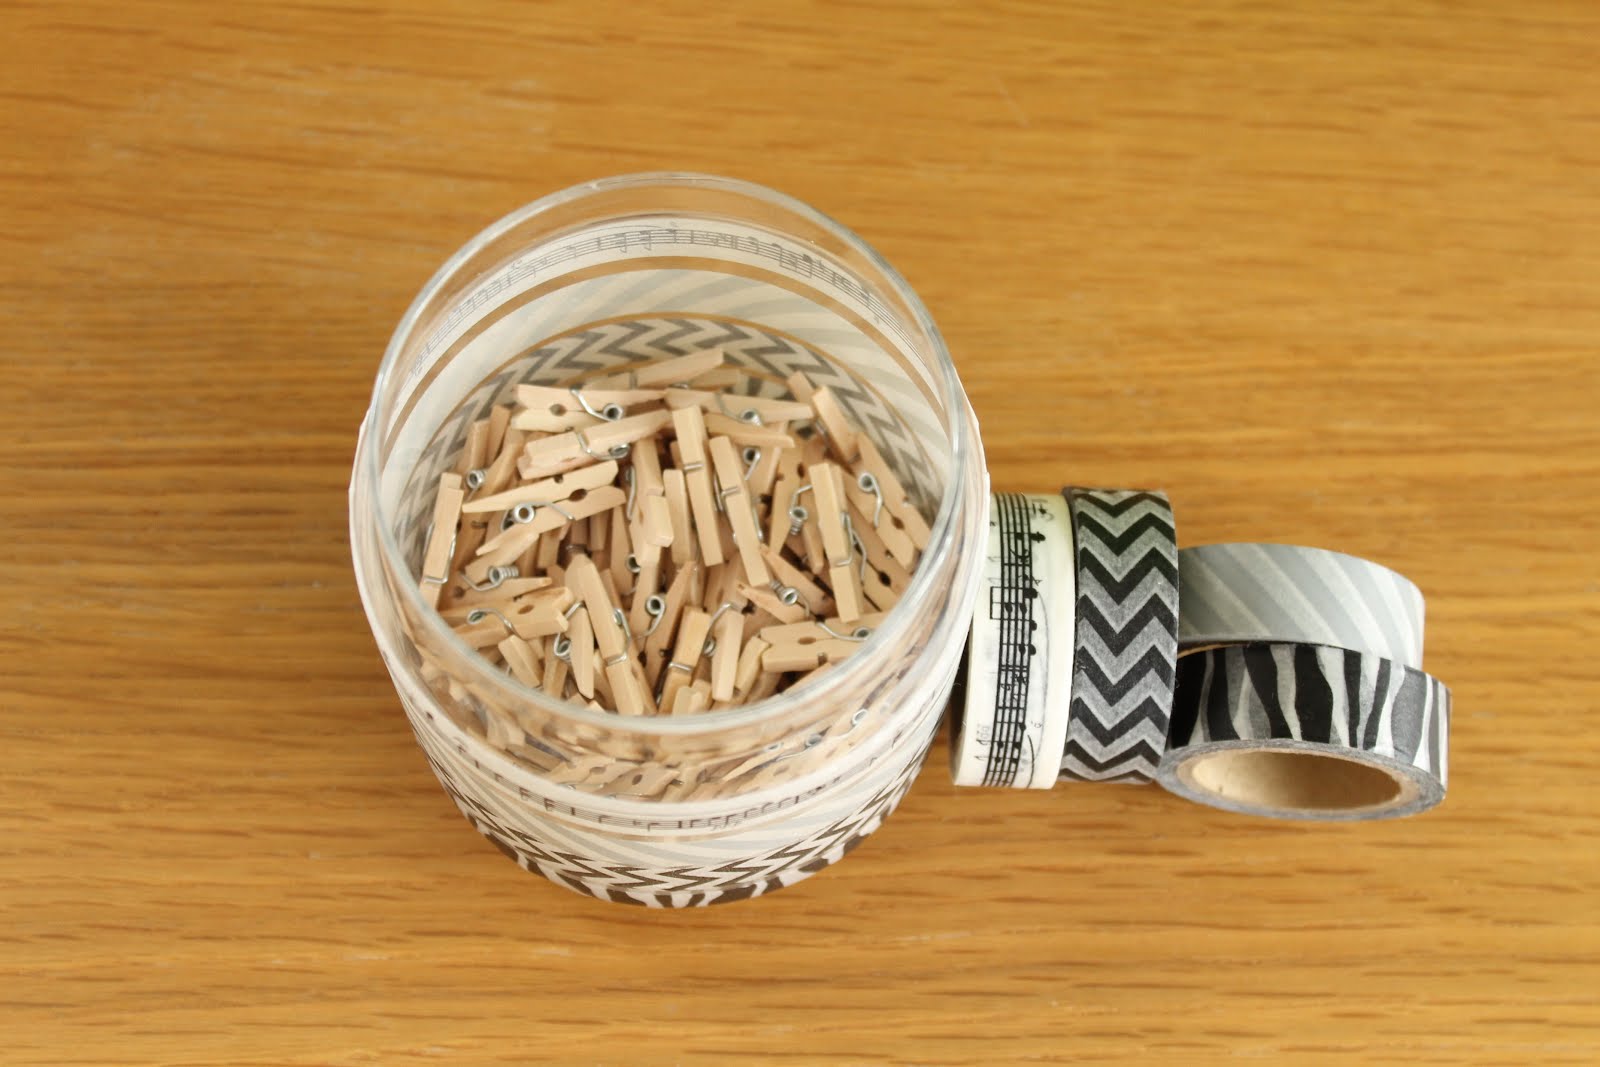
I know I’m late to this party, but once I started to use Washi tape, I knew I was a goner. This thin removable tape is perfect for renters like me, or for people who don’t like commitment to sticky things (also like me).
I ordered this washi tape in a variety of cohesive patterns that represent me and who I am. There are loads of places with unique designs now, and it’s a cheap way to dress up those glass jars we already talked about. Plus, if you mess up, you can peel it right off. No drama or crisis necessary (unlike that time I got an awesome watercolor t-rex sticker for my tablet case and put it on incorrectly).

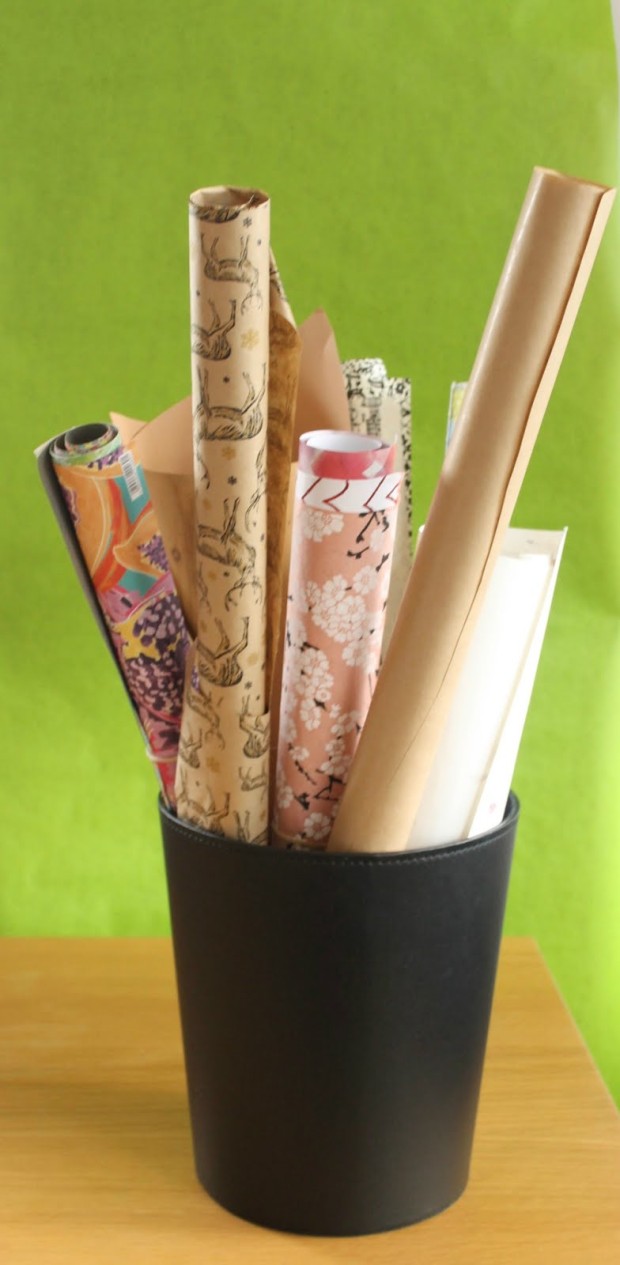
Store your paper in a trash basket


I purchased this shoe organiser for my stash and its awesome I just sit looking at my yarns while thinking I need some more wool!
https://www.amazon.co.uk/gp/aw/review/B00ISEDQ56/R4KO4Z2ONFQJ4/ref=cm_cr_dp_mb_rvw_2?ie=UTF8&cursor=2