Privacy & Cookies: This site uses cookies. By continuing to use this website, you agree to their use.
To find out more, including how to control cookies, see here:
Cookie Policy
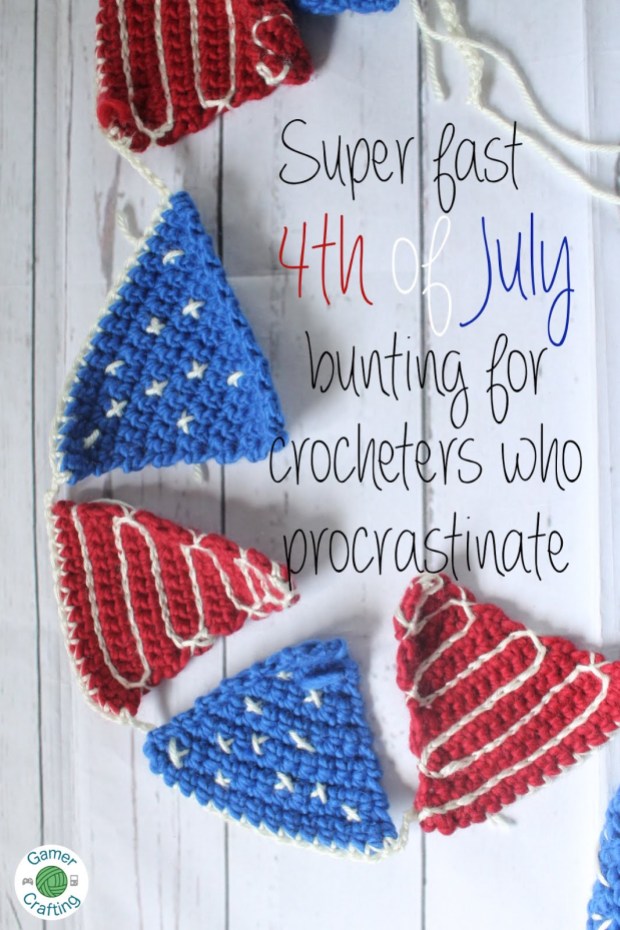
Okay, you caught me! I admit it! I am the world’s worst procrastinator when it comes to holiday craft projects. I always make big grandiose plans…and then panic when I realize it’s only a few days away. Oops.
Living in London, sometimes I forget about American events. “Oh, it’s the Super Bowl? I had no idea.” “Presidents Day? You don’t say!” I realized shortly after planning a campervan trip to the coast for this weekend that the 4th of July is on MONDAY. Now, I don’t get that day off, and I don’t have any grand plans, and I’m certainly not aggressively patriotic, but I thought it might be fun to make some American flag bunting to take on the trip this weekend.
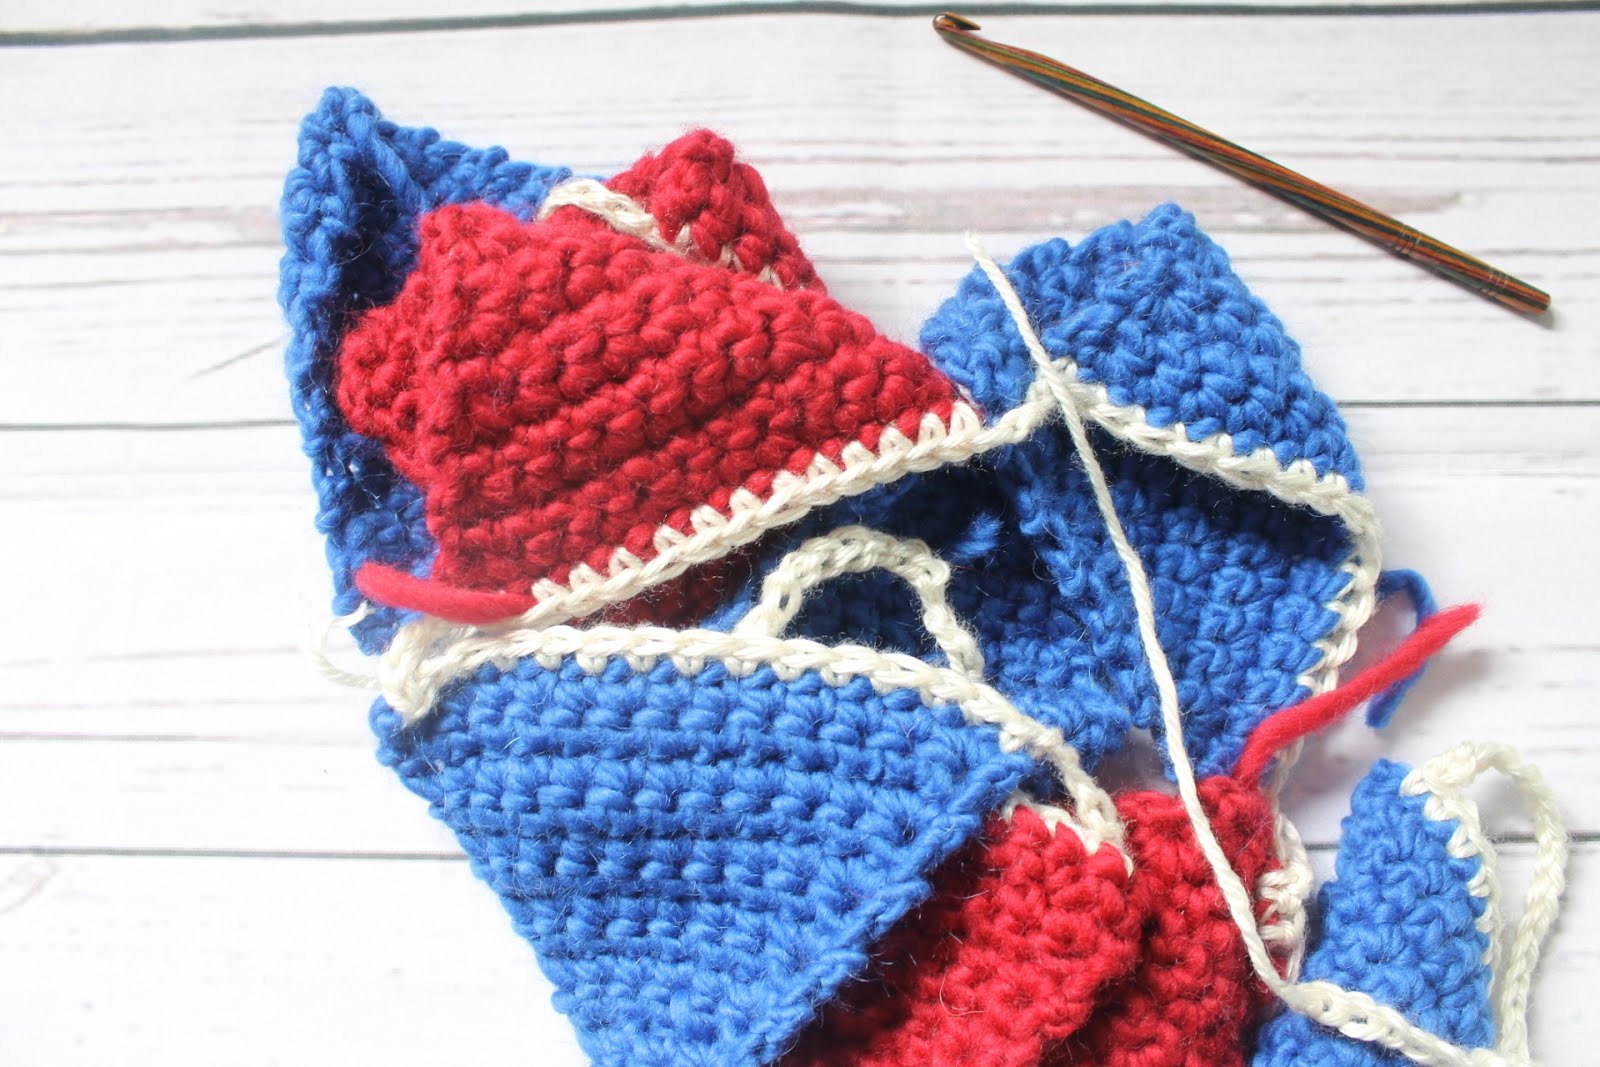
This is a super easy pattern, and it uses bulky weight yarn. I made this WHOLE THING in one evening watching Netflix.
2 single crochets into the second chain from the hook.
Chain one, and turn work. Do 2 single crochets into both stitches.
Chain one, and turn work.
For this and every following row, 2 single crochets into the first stitch, and one single crochet into every other stitch. Chain one, and turn work.
Work in this manner until there are 17 stitches across, and tie off.
I made five triangles in red, and five triangles in blue. There’s plenty of yarn to make more than that if you want, though!
Join the bunting
Chain 20 (or more if you need a longer tail).
Working across the top of the triangle, single crochet into each stitch.
Chain 5 between each triangle, and work across each one, alternating colors.
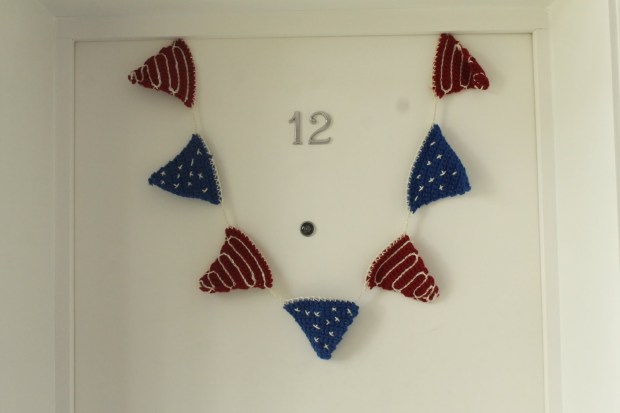
After all your triangles are joined, use a yarn needle with a wide eye to stitch some Xs on the blue triangles. I used my crochet hook to slip stitch a wiggly stripe down each red triangle. BUT – you can always make different designs!
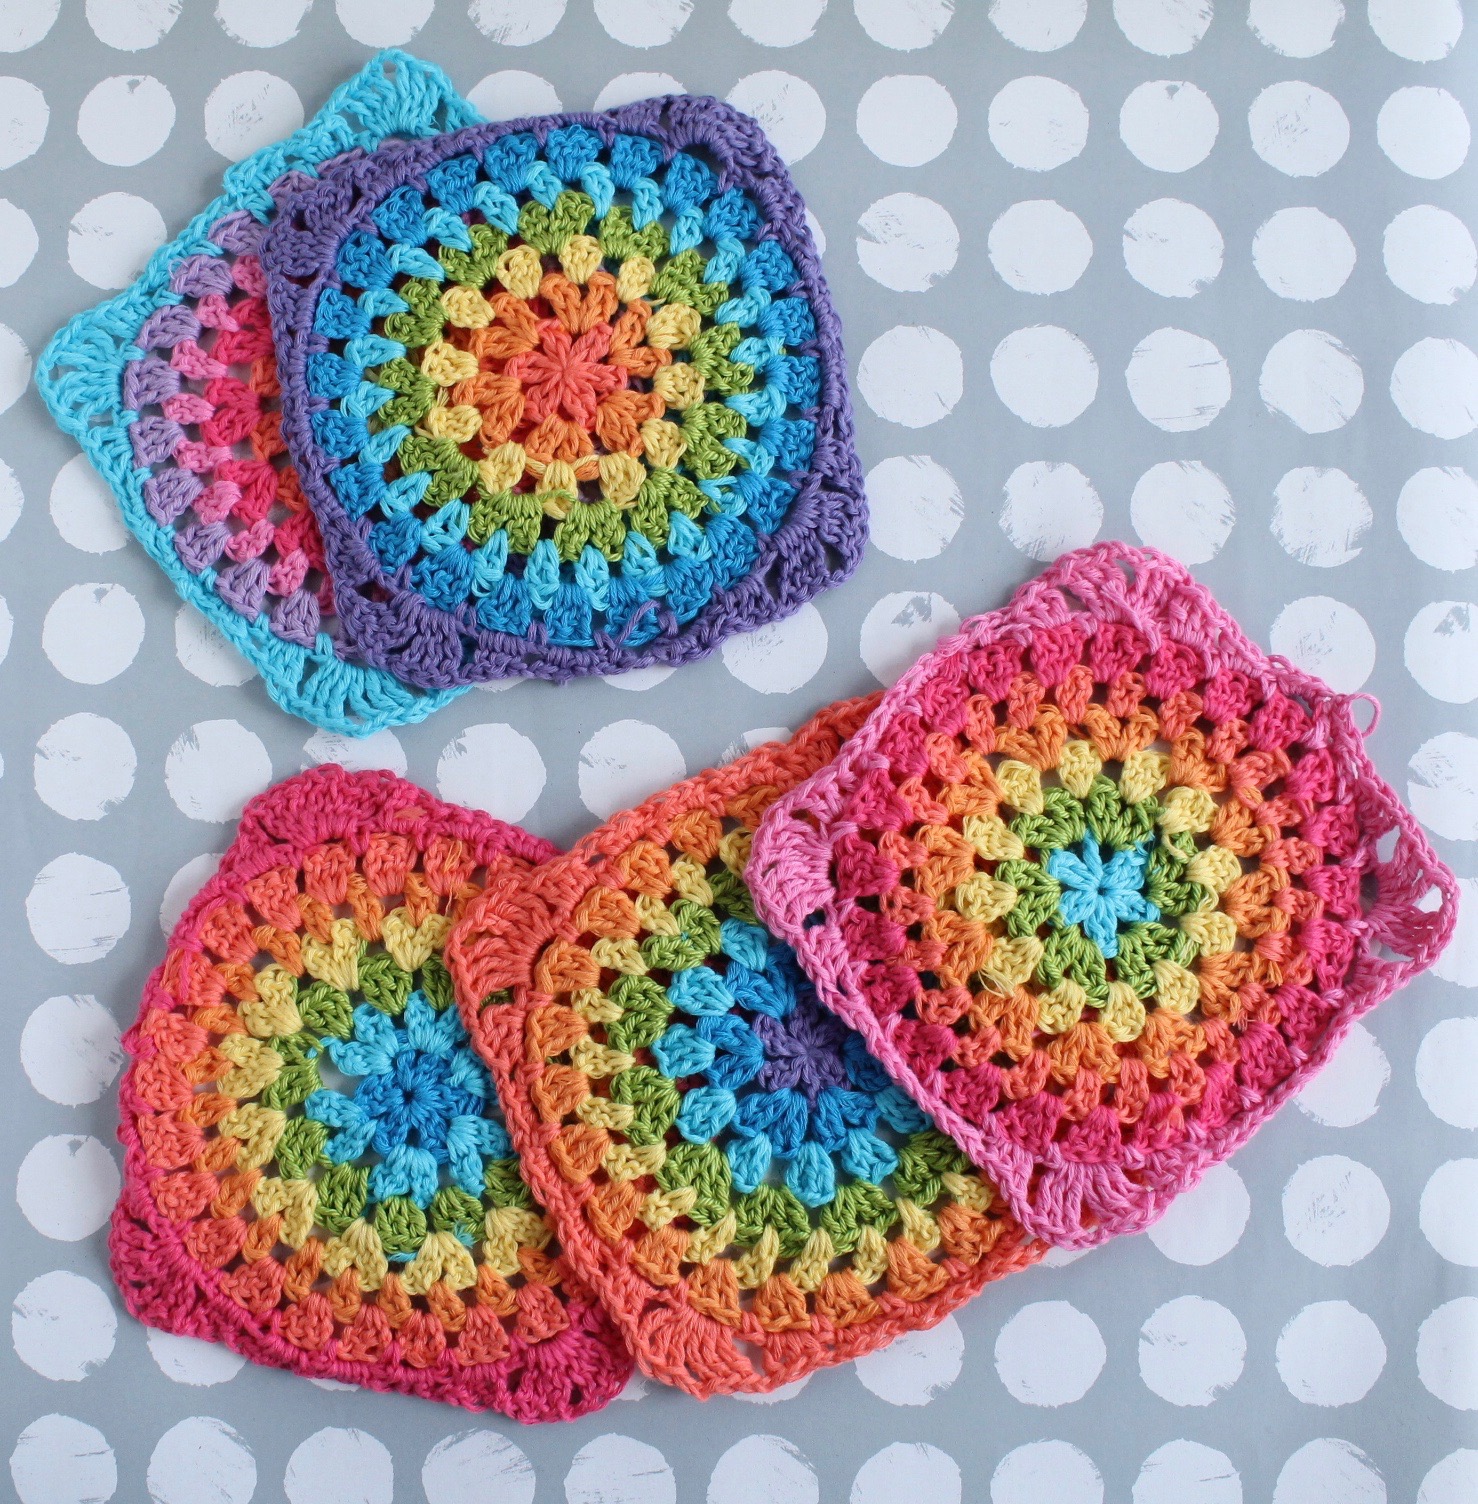
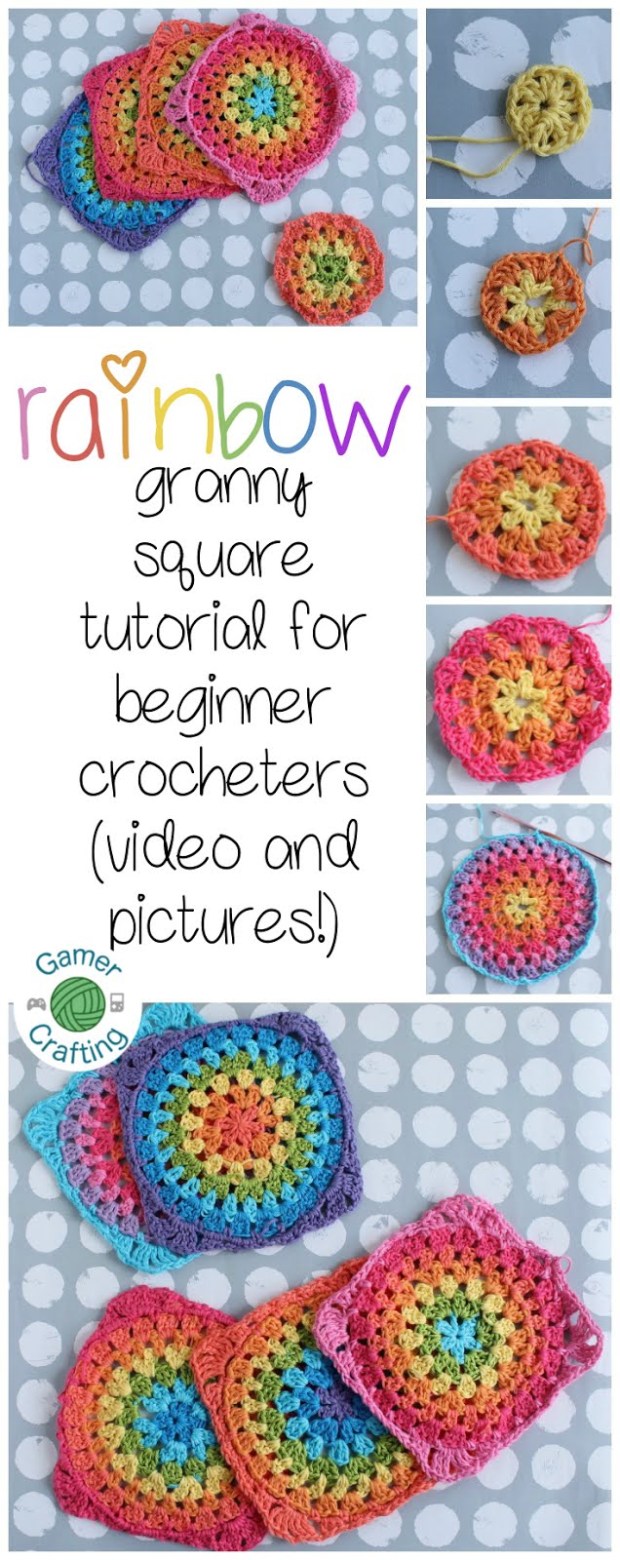
A couple weeks ago, I was posting on my Instagram account about these rainbow granny squares. The response was immense! I had crocheters and non-crocheters alike messaging me on Instagram and Facebook, asking me to make y’all a tutorial.
Well, I did. It took a lot of effort, between filming, editing, and uploading the videos, so please be kind about how weird my hair looks in the video, or the fact that my sound isn’t great. (Full disclosure, my microphone died but still looked like it was recording, so I didn’t even know there was a problem until I went to edit it into the footage!)
You’ll notice that there is now a GamerCrafting YouTube channel, please subscribe if you want more tutorials and tips. Now, let’s get this party started.
Beginners
If you’re a beginner crocheter, don’t know the basic crochet stitches, can’t read a pattern, or just want to hear the dulcet tones of my voice, this video is for you. Yes, it’s a little bit long, but I go through each thing step by step. I’m always around on Facebook if you need any help! ^_^ Ch-ch-ch-check it out:
Intermediate and everyone else
If you took one look at that video, and thought, “Ughhhh that’s way too loooonnnnngggg,” then never fear, because I preempted your annoyance at a 36 minute video. I also made a 2 minute and 20 second drilled down version! You don’t even have to listen to my voice! You could have it on mute the whole, entire time (though you’d then miss my background music which I composed for a string ensemble)!
Now, if you’re someone who hates videos and just needs some pictures and a pattern, well then, I have NEWS FOR YOU.
I thought of that too.
You can either chain 4 and join into a ring, or make a magic ring and use the round one instructions. It’s up to you. You have the power!
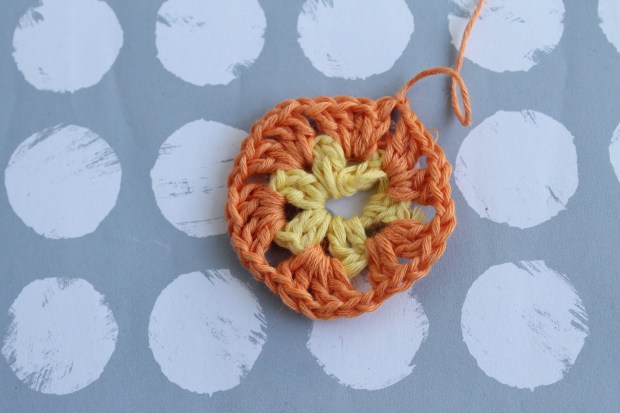
Round 1: Chain 2 (counts as one double crochet, or treble if you’re British), 1 DC. *Chain 2, 2 DC.* Repeat between * and * until you have 6 sets of 2 double crochet stitches, 12 in total. You should have 6 chain 2 space gaps.
Round 2: Into each chain 2 space from the previous round: 2 DC, Chain 2, 2 DC. Chain 2 to get to the next space, and repeat all the way around.
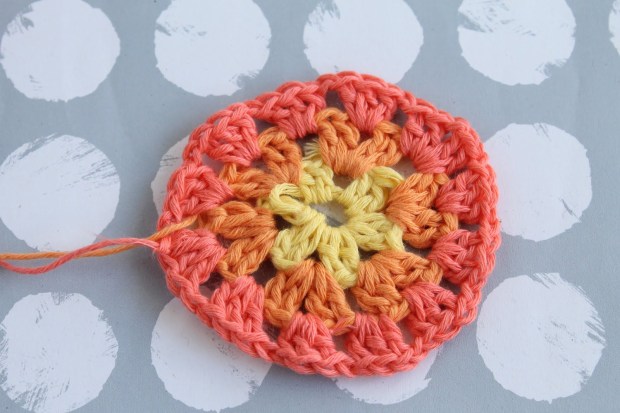
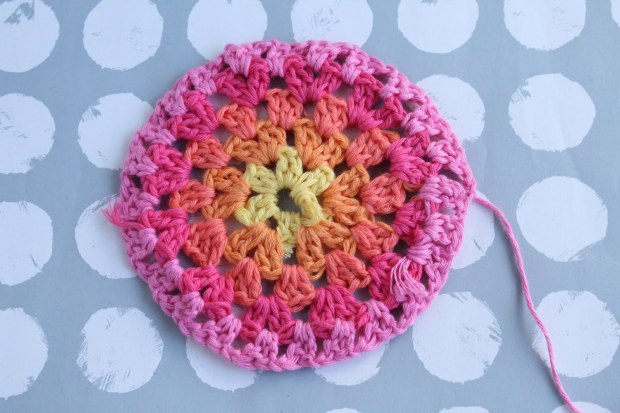
Round 3: Into every chain 2 space from the previous round, 3 DC. Chain 2 to get to the next space, and repeat all the way around.
Round 4: This round is exactly like round 2. Yay! The same! Into every chain 2 space from the previous round, 2 DC, chain 2, 2 DC. Chain 2 to get to the next space, and repeat all the way around.
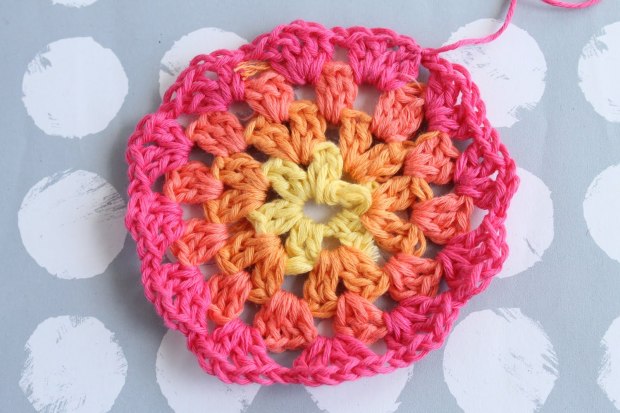
Round 5: Into every chain 2 space from the previous round, 2 DC. Chain 2 to get to the next space, and repeat all the way around.
Round 6: This round is exactly like round 3. Yay, less to remember! Into every chain 2 space from the previous round, 3 DC. Chain 2 to get to the next space, and repeat all the way around.
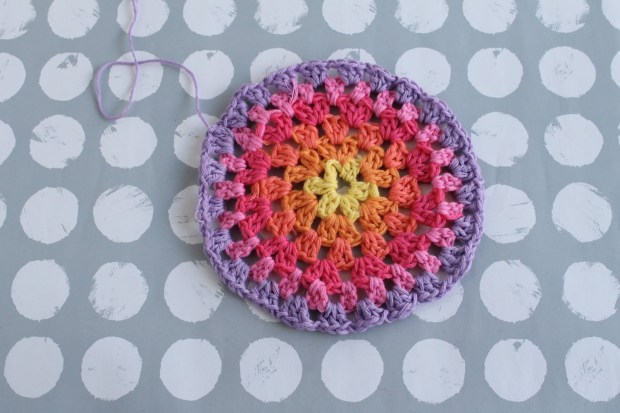
Round 7: (in the video tutorial I didn’t switch colors, but here I did: it literally does not matter because you don’t see this round, it just serves as a foundation for round 8). *Chain 3, single crochet into the next chain 2 space from the previous round.* Repeat between * and * all the way around, creating those beautiful chain 3 spaces.
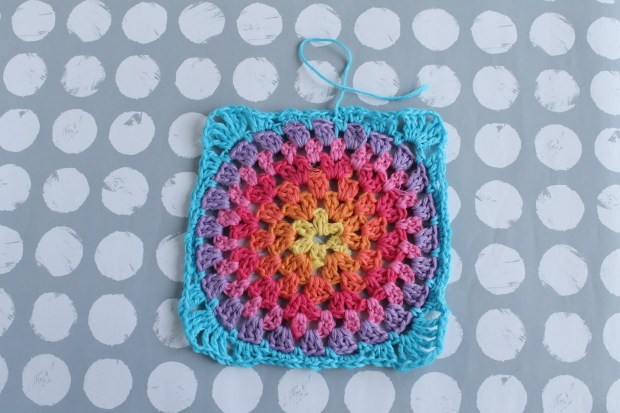
Round 8: THE FINAL COUNTDOWN: This round is slightly more involved, but I promise it’s not hard once you see what you’re doing. We will be squaring off the circle now!
Join into any space.
3 single crochets (SC) into the first space, 2 SC and 1 half double crochet (HDC) into the next space, 1 HDC and 2 DCs into the next space, 4 trebles (TR) and 4 chains and 4 TR into the next space.
Congrats! You made a corner! Now to decrease back down:
Into the next space, 2 DC and 1 HDC, 1 HDC and 2 SC into the next space.
Right, now repeat all that three more times to make the remaining 3 corners!
Materials
If you didn’t watch the long video, you might be wondering what yarns I used. In the video, I used Lana Grossa Cotone and a 3.5mm hook. The colors are pretty good, and the yarn isn’t splitty, which is good for you beginners out there.
In this picture tutorial, I used Lang Yarns Baby Cotton and a 3mm hook. Both yarns are the same weight, but I typically prefer a tighter square. I used a bigger hook in the video so it would be easier for beginners to see where the chain spaces are – it’s entirely up to you.
You could, of course, use this pattern with any weight of yarn and a corresponding sized hook, it will just affect the size of your finished square.
You know, sometimes knitters want to make an applique, too. And sometimes crocheters want to spice up a simple flower. And sometimes, the bi-stitchual among us (haha) want to cross over to the other side for awhile. I’ll admit, I don’t always want to knit – sometimes a hook feels better in my hands after a long day. And after weeks of crocheting, needles are a welcome change.
These two flower patterns/tutorials are for knitters AND crocheters – one for each. One of them was created for the LoveKnitting Knit by Bit feature a few weeks ago, and the other was something I found on Pinterest in Italian a few weeks ago and translated the idea into English. Yay!
Zzzzziiiiinnnngggggg! This is a crochet flower taken up to the next level with a button center. You will need either giant buttons or tiny crochet hooks for this project!
Love this project? Pin this image!
It looks complicated, but I promise it’s not! First you need to find a button with four holes and a crochet hook small enough that it will fit through the holes.
Poke the hook through a hole and pull a loop through – you’ll need to hold the loose end of the yarn at first. Go over the button and make a slip stitch to stabilize it.
Chain four, and dive into the next hole to the left. Make a slip stitch in the same way as the first one, and chain four again. Repeat until you have gone into each buttonhole, making four sets of four chains. Then, chain four and go back into the most recent buttonhole to make a fifth chain space – it will look crowded, but don’t worry, that evens out.
Into each four chain space: SC, HDC, DC, TR, DC, HDC, SC. (In UK terms: DC, HTR, TR, DTR, TR, HTR, DC.) Leave a loop when weaving in ends if you want to use it as a garland like I did, or weave the ends in tightly if you’re using it for another reason. Enjoy!
I made my flowers into a garland, and hung them in the entertainment center display cupboard to show off all of our geeky trinkets. How will you use yours?